When refurbishing a motor, or an entire bike, it is often desired to improve the cosmetic appearance of the cast aluminum cases. There are several cast aluminum parts on the bike that benefit from being media blasted and those include:
- Engine block, timing cover (intermediate case), electrics cover (front cover) and the semi-circular door on the top of the engine,
- Heads and valve covers,
- Transmission case and door,
- Wheel hubs.
Many owners blast the bottom of the rear shocks and then paint them or clear coat them. However I prefer to have them cadmium plated. When cadmium plating, I do not blast them; I just send them off and have the plater take care of it.
Scottie's workshop always media blasts cylinder heads when they are disassembled for refurbishing and machine work during a head service or repair. We also blast the valve covers so they come back to the customer matching the newly cleaned cylinder heads.
Because valve covers do not have any crevices, they can be media blasted without special consideration, so long as they are cleaned thoroughly after blasting to remove any residual media.
Wheel hubs can be blasted only during a wheel rebuilding service. Prior to building, the bearings and old spokes are removed and the braking surface is protected with masking tape. Then the wheel can be rebuilt. Once the wheel is spoked and trued, then the braking surface can be trued on a lathe.
Blasting Media
For ease of clean up and less wear on the case surfaces, I recommend using beads.
Vapor Blasting
Vapor blasting (or vapor honing) is a blasting process in which the part is media blasted with glass beads and then blasted again with a fine slurry of very small glass beads and water/chemical cleaning agent solution. The resulting finish is stunning and far superior than blasting alone. In addition to the fine satin finish of aluminum parts, the aluminum retains a resistance to staining. At Scottie's Workshop, we only media blast parts that are to be powder coated or painted. We vapor blast everything else.
Engine and Transmission Cases
Before jumping into blasting your cases, you may want to give some thought to the end appearance of your bike after plating. For example, if you are rebuilding your transmission, and decide to blast it clean, consider how it will look when bolted back up to your motor, which may have its original patina.
When refurbishing and/or restoring a /2, we will normally media blast all the cast aluminum, or we will blast none of it, preferring instead to "deep clean" and preserve the original patina as best as possible. I discuss deep cleaning in another article.
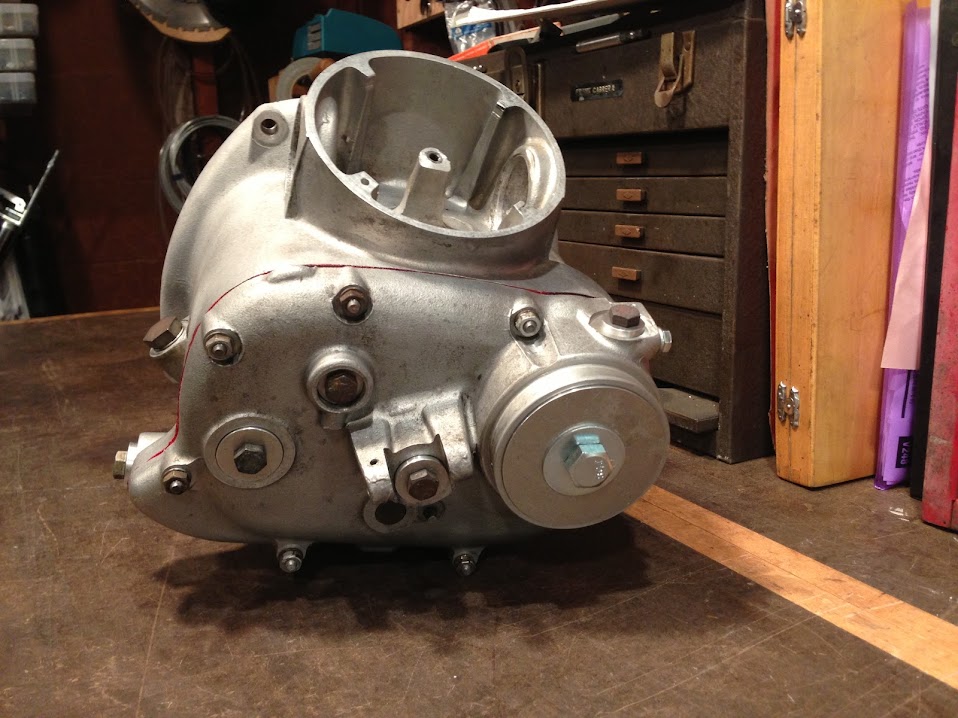
The following photo illustrates a freshly blasted transmission case next to a deep cleaned, natural patina engine block.
 |
When media blasting cases, the primary risk is media contamination into the case. By its very nature, media is highly abrasive and durable stuff and will immediately destroy the surfaces of even hardened, machined parts, such as bearing races and gear faces. You will never be able to clean out all the media. The size of the media, and the number of places it can hide inside the cases, even after deep cleaning, soaking and rinsing of the cases, there will always be a risk of contamination. There are still folks out there destroying their engines and transmissions because of residual media left inside the case. When it comes to media blasting open cases, the answer is clear. Don't do it!
So how do you media blast a case without risking contamination. The answer is to seal the cases before media blasting. Here's how we do it at Scottie's Workshop.
For the case, we use 1/4" polycarbonate sheet to make up some doors for the engine case openings. The base gasket serves as a handy template for tracing and cutting. |


 |
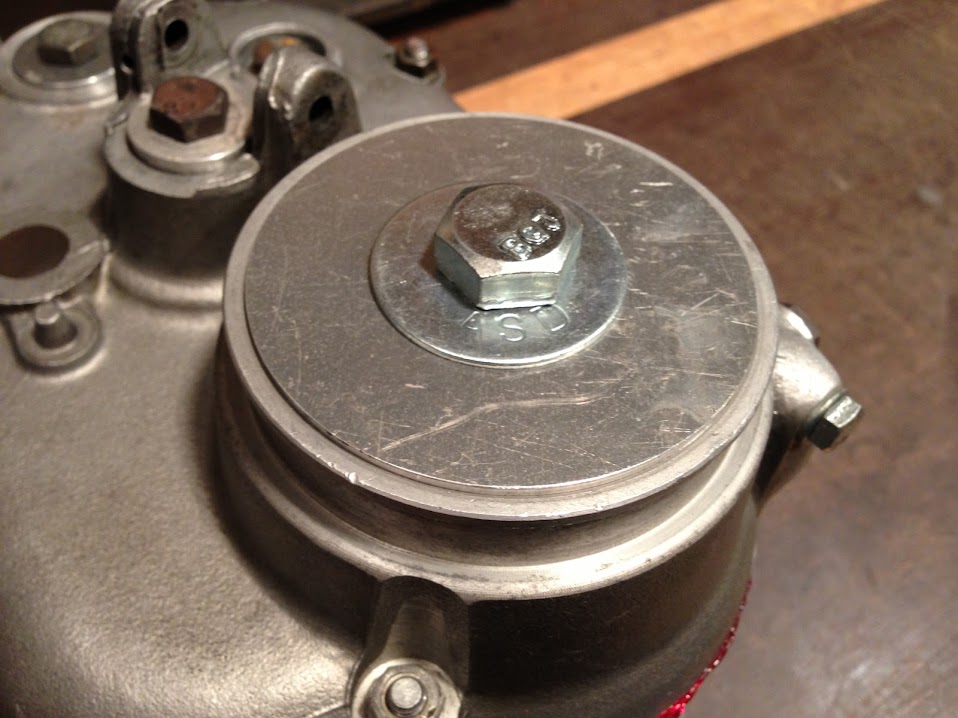
RTV and base gasket nuts (and some washers) are used to seal the poly to the case.
|
 |
| The transmission (studs removed) makes a handy template for tracing and cutting a door for the bell housing. RTV and nuts and washers are used to seal the poly to the case. |
 |
The semi-circular door on top is sealed with RTV and tightened down. Other holes are sealed with rubber bungs, or aluminum plugs made on the lathe, as shown in the photo below.
|
 |
| On the transmission bench, my friend Blaise Descollonges has come up with a novel method to seal the many circular-shaped openings of the transmission case. |
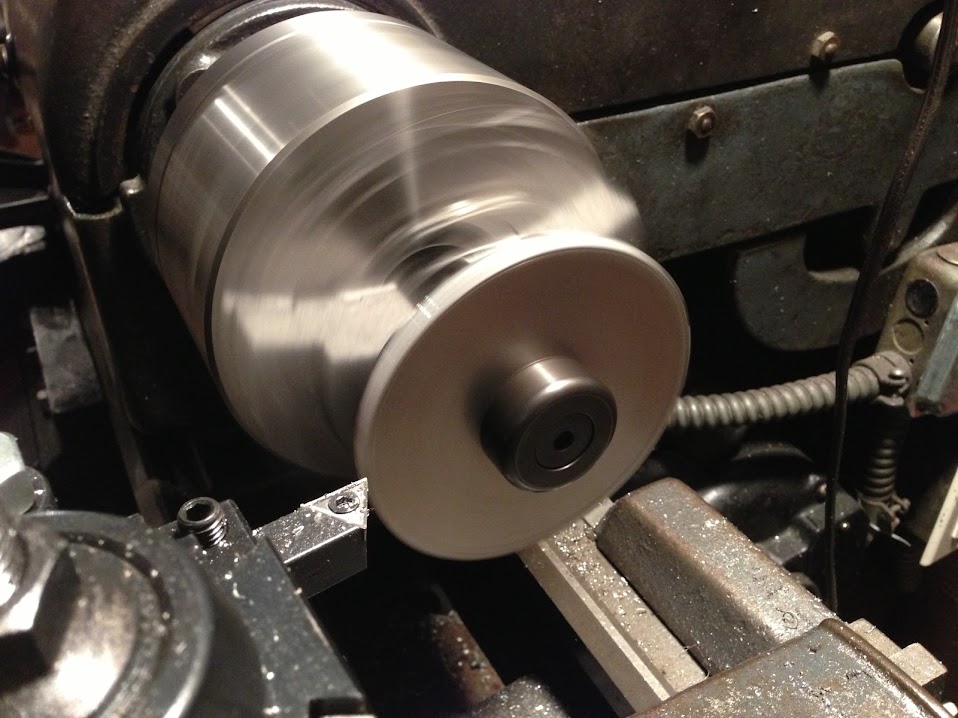 |
| Bungs were cut on a lathe from aluminum. |
 |
| The bungs have beveled edges so that they seal air tight. |
 |
The transmission door is sealed with RTV and a gasket.
The end result is that these aluminum cases can be safely media blasted without risk of contamination.
Even so, we thoroughly wash and rinse the cases several times with soap and water using a garden hose and high pressure washer after media blasting to ensure that any residual media is washed away.
The end result is worth the effort: clean and refurbished -- and beautiful! - cases!
When having your /2 serviced or restored at Scottie's Workshop, ask us about our media blasting services!

************************
Addendum, I was over at Joe's shop building a motor and I decided to use some of Joe's blasting plugs since I was there. They were so nice and clever, I decided to take a picture and update this article.
|


