Scottie's Workshop has a wooden crate that we loan out to folks who want to ship their motors to us for work. We charge a deposit of $300 for the box that will be returned when the box is returned to us. If you want to ship your motor to us in the box, just give us a ring or email and we'll send it out to you.
Here's how you can build your own wooden crate.
- Front and back - Qty 2 - 19"** X 31.75" 3/4" Plywood
- L and R Sides - Qty 2 - 15.375" X 19"** 3/4" Plywood
- Top and Bottom - Qty 2 - 17" X 31.75" 3/4" Plywood
- Bottom Tier - Qty 1 - 15.5" X 30" 3/4" Plywood
- 1-1/2 in. x 14-Gauge x 72 in. Zinc-Plated Slotted Angle
- Sufficient nuts and bolts and washers
- Heavy Duty Handles
- Locking clasps - Such as surface mount ATA twist butterfly latch
- Corner braces - Such as Everbilt Model # 15442
- Feet - Qty 2 - Length 17" - pressure treated 4X4
- Engine mount - Qty 2 - Length 15" - pressure treated 4x4
- Angle iron - Length 9" - motor mount holes are 7 5/8" on center
- Length 9" - 3/8" all thread, nuts and washers
We are using pressure treated wood here because it is a requirement for most country's import regulations (to prevent wood borne pests).
Assemble top box as shown in photos below. Glue and clamp mating edges. Drill holes and use nuts and bolts to fasten angle brackets to strengthen joints. Affix heavy duty folding handles.
Optional: Affix corner braces inside and out to reinforce corners.
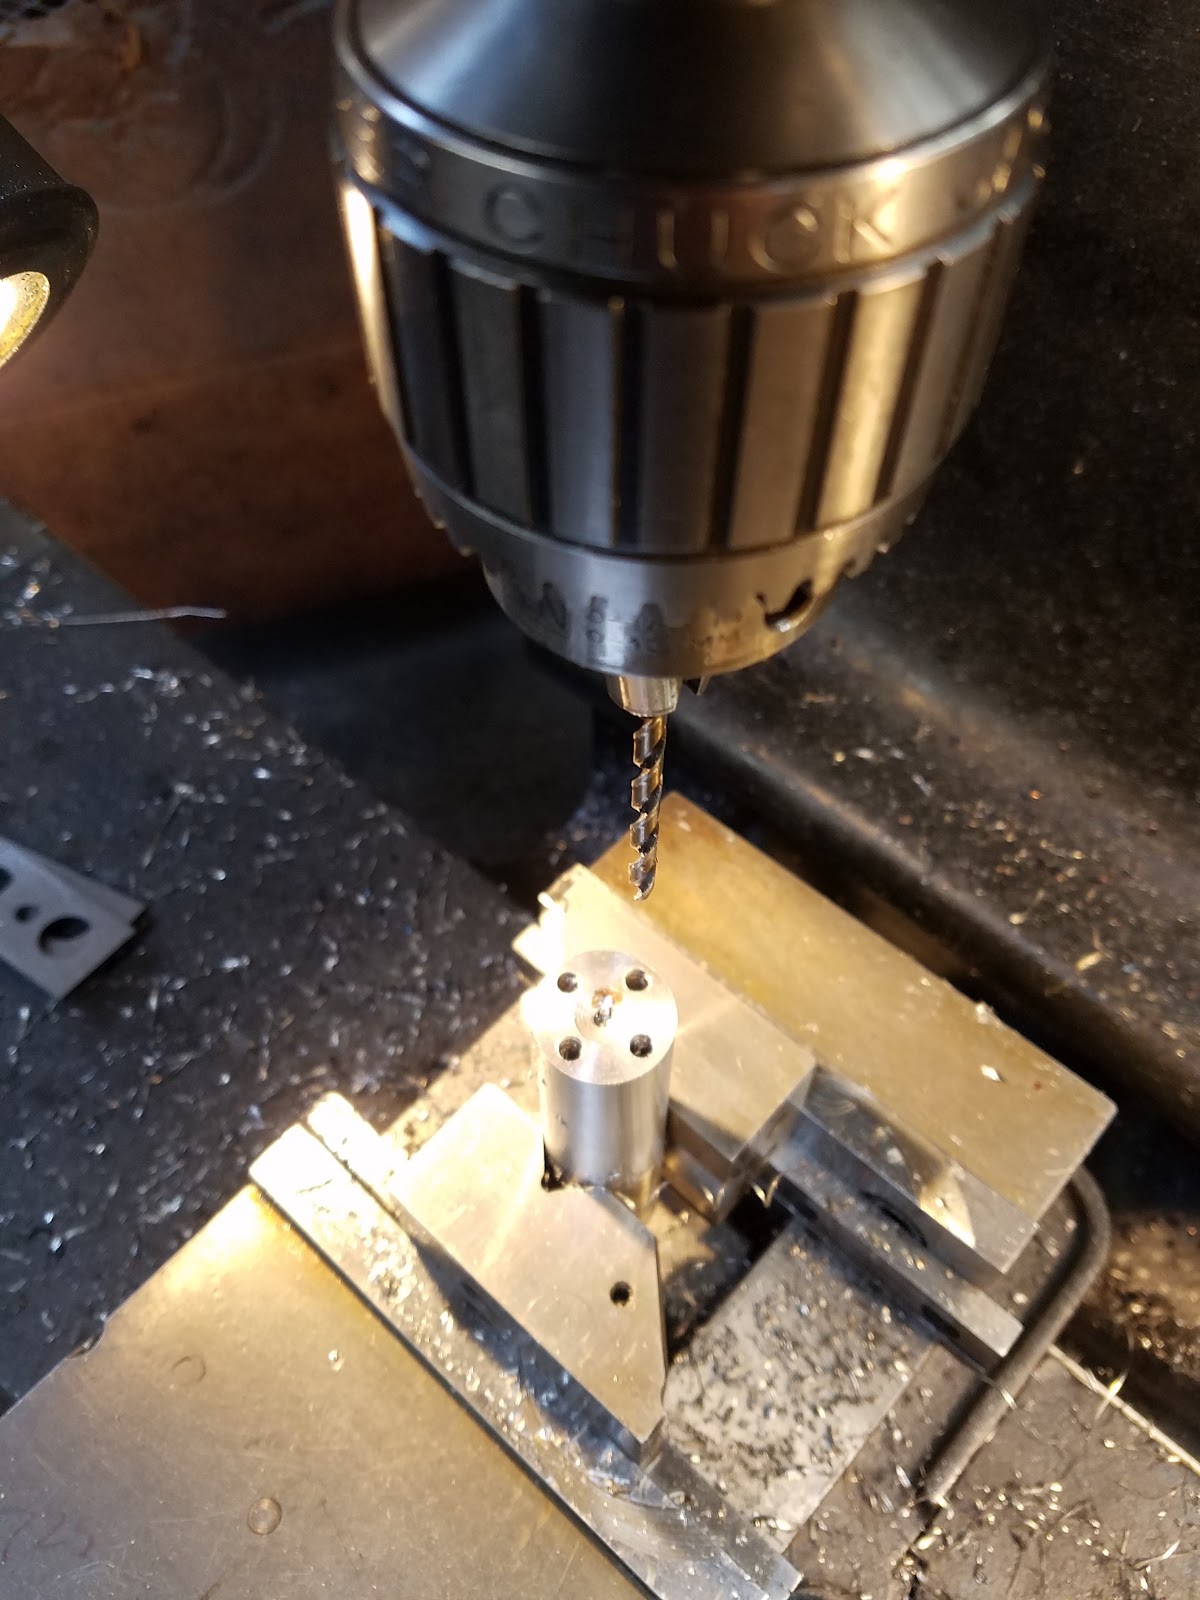
Assemble bottom as shown in photos below. Glue and screw bottom tier to bottom leaving 3/4" "shelf" around edge (to locate and secure the box lid). Glue and bolt feet and motor mount to base plate. Drill and locate the angle iron (or aluminum) to secure the motor. I ran long carriage bolts all the way through to the base and counter sunk the base of the bolts and fender washers.
The small piece of 2x4 you see jutting off to the side is just to secure a small cardboard box inside so it won't slide around.
Place the lid on the bottom plate (you may need to sand to fine tune the fit) and affix the butterfly latches, handles, etc.
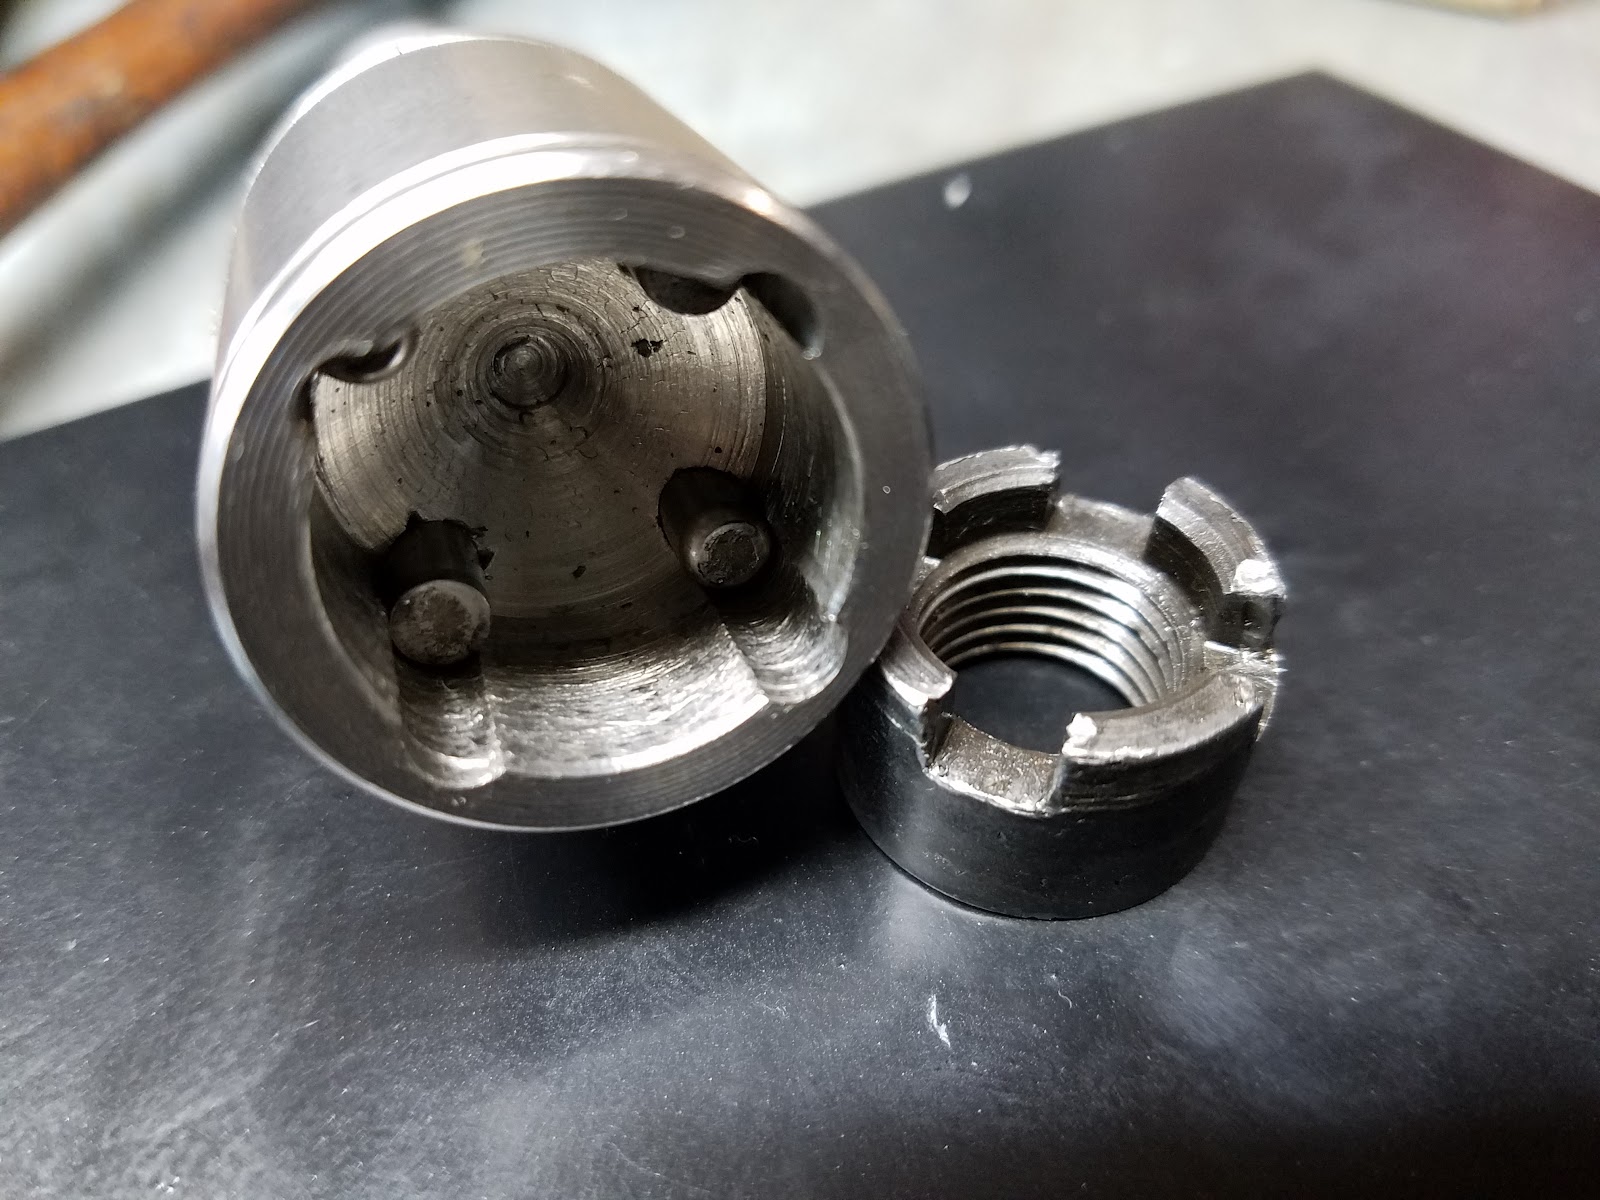
** If you wish to secure the top of the engine (not really necessary, but I did it on ours), reduce the dimensions of the front and back and sides from 19" to approximately 18.125" and fabricate a steel plate to accept the top motor studs, as pictured below. Drill oversized 1" holes in top lid to access nuts. Affix plate to lid to locate top engine mount studs.
Test fit your motor!